Production process

We create high-quality vehicle electronics “Made in Germany”

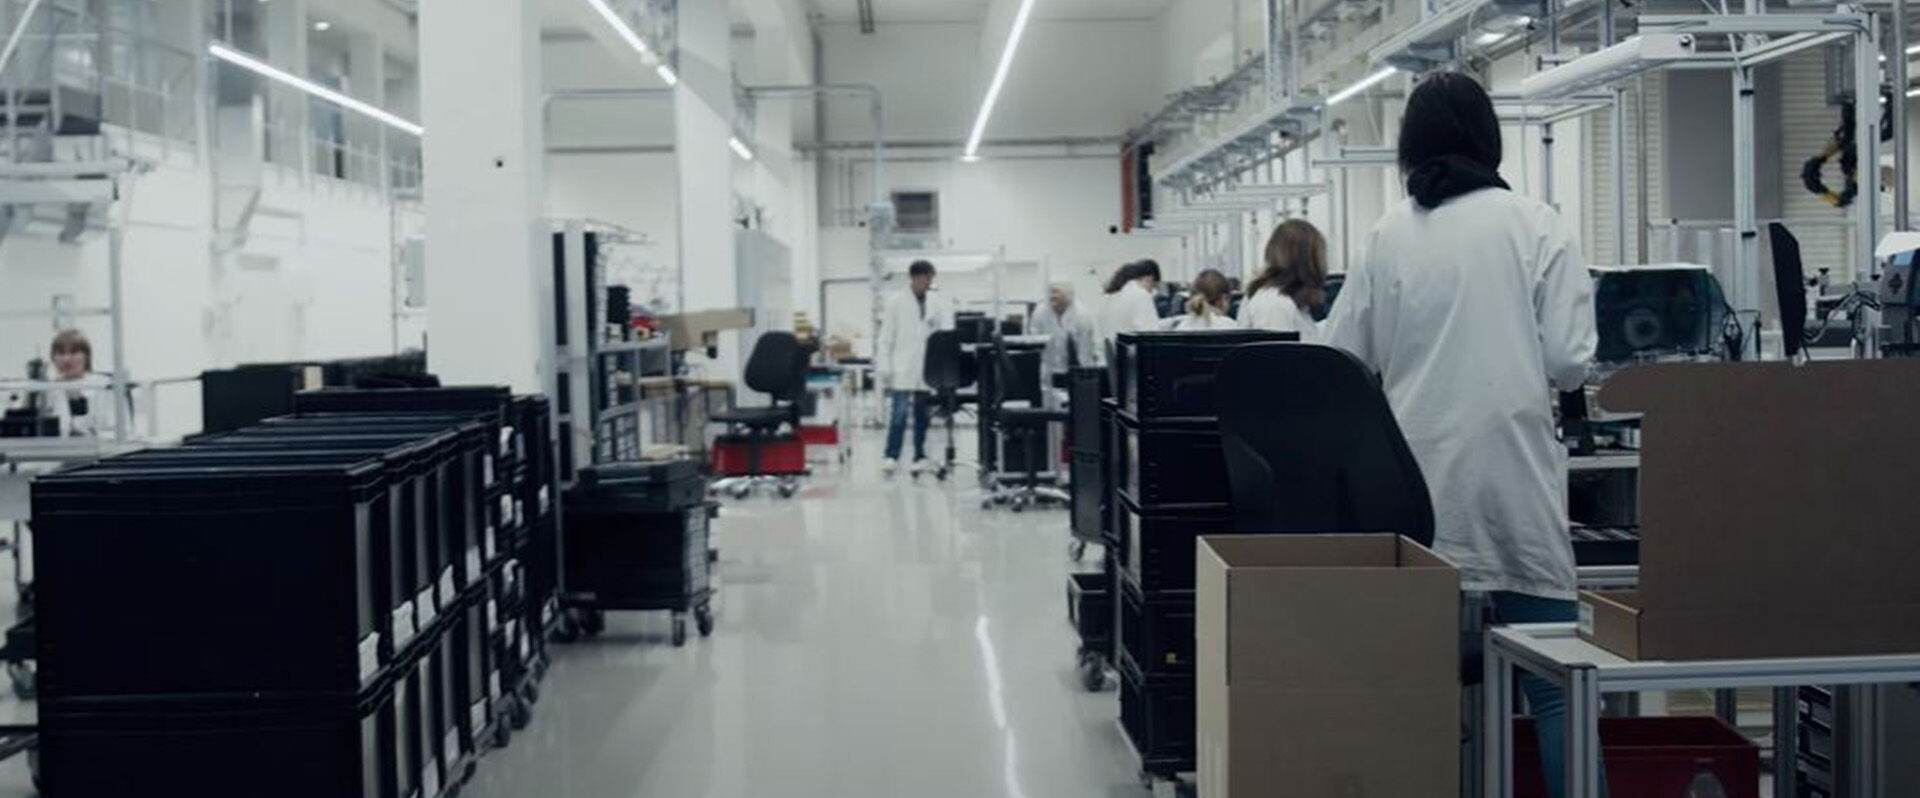
With our modern production facilities and internationally recognized certifications, we produce hardware for our standard and customized electronics at our main site in Rottweil. Each product is tested at least four times during the production process.

Label station

Step 1: Label station

For us, first-class traceability begins with the procurement of components. For optimum traceability in the production process, we start by affixing a label to the PCB. All downstream production steps are documented in a database and can be accessed at any time.

SMD

Step 2: SMD

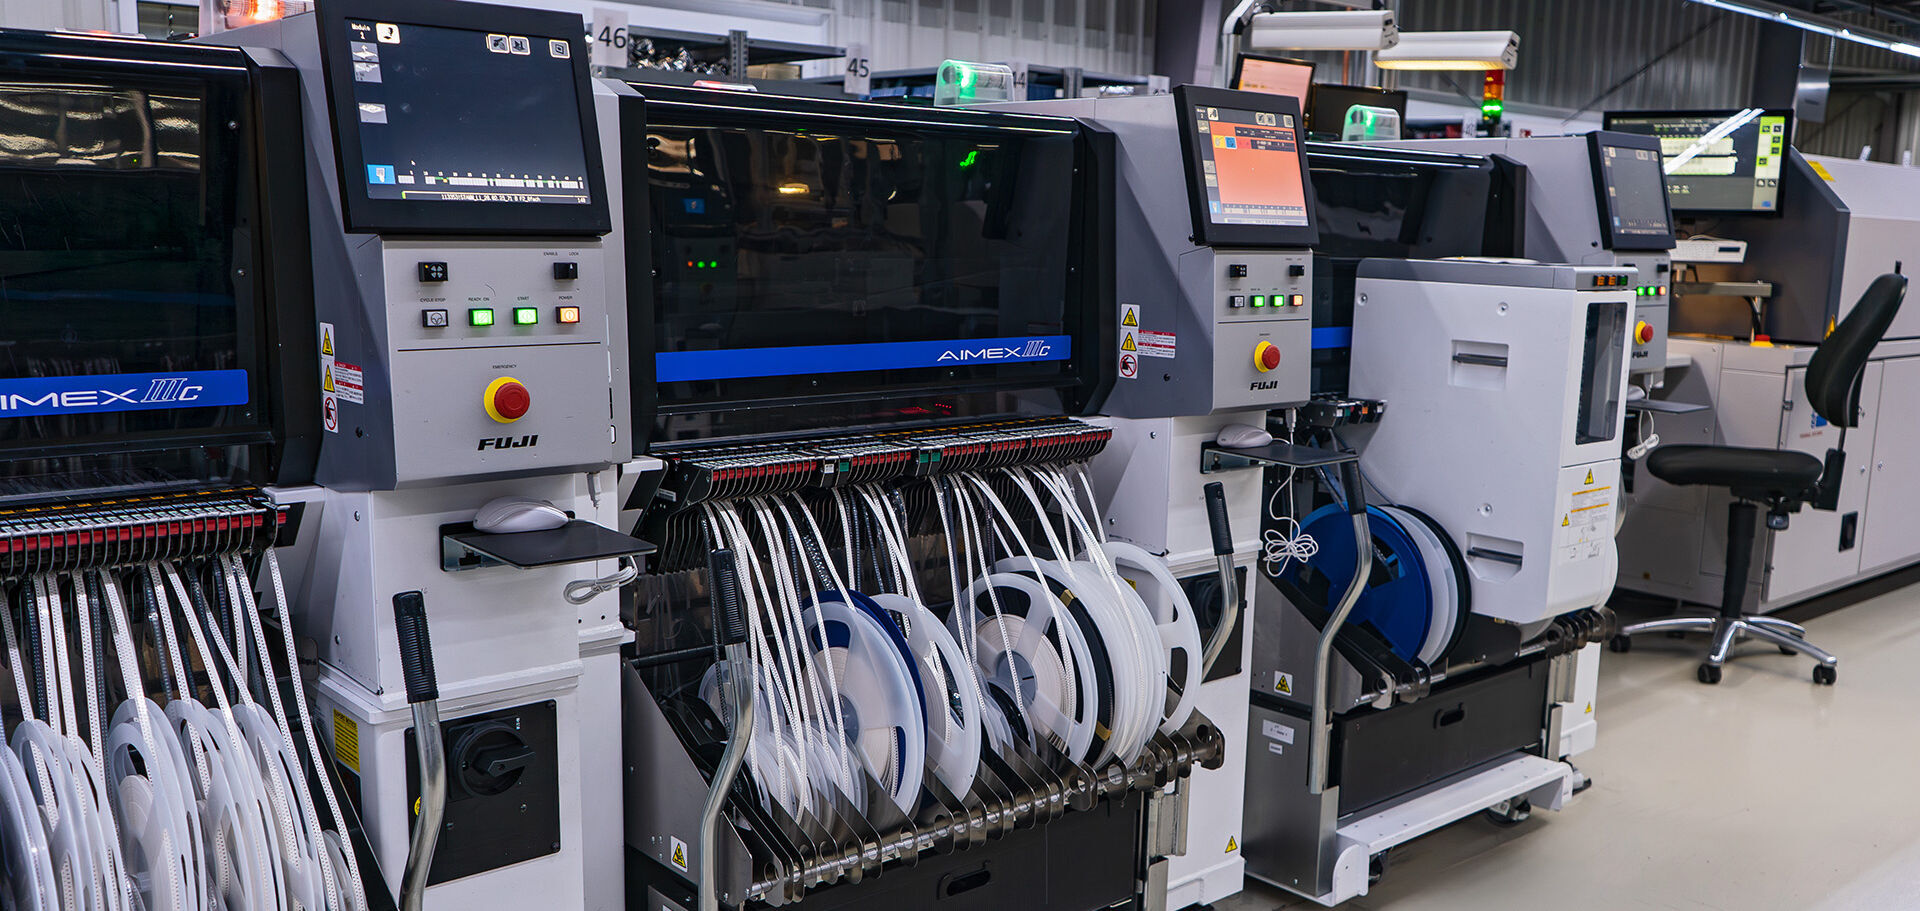
In our SMD line, the PCBs are assembled using solder paste printing. The solder paste is applied to the PCB and the paste printing results are checked (SPI). The PCBs can then be fitted with components such as resistors, capacitors or processors and soldered in the reflow oven.

AOI

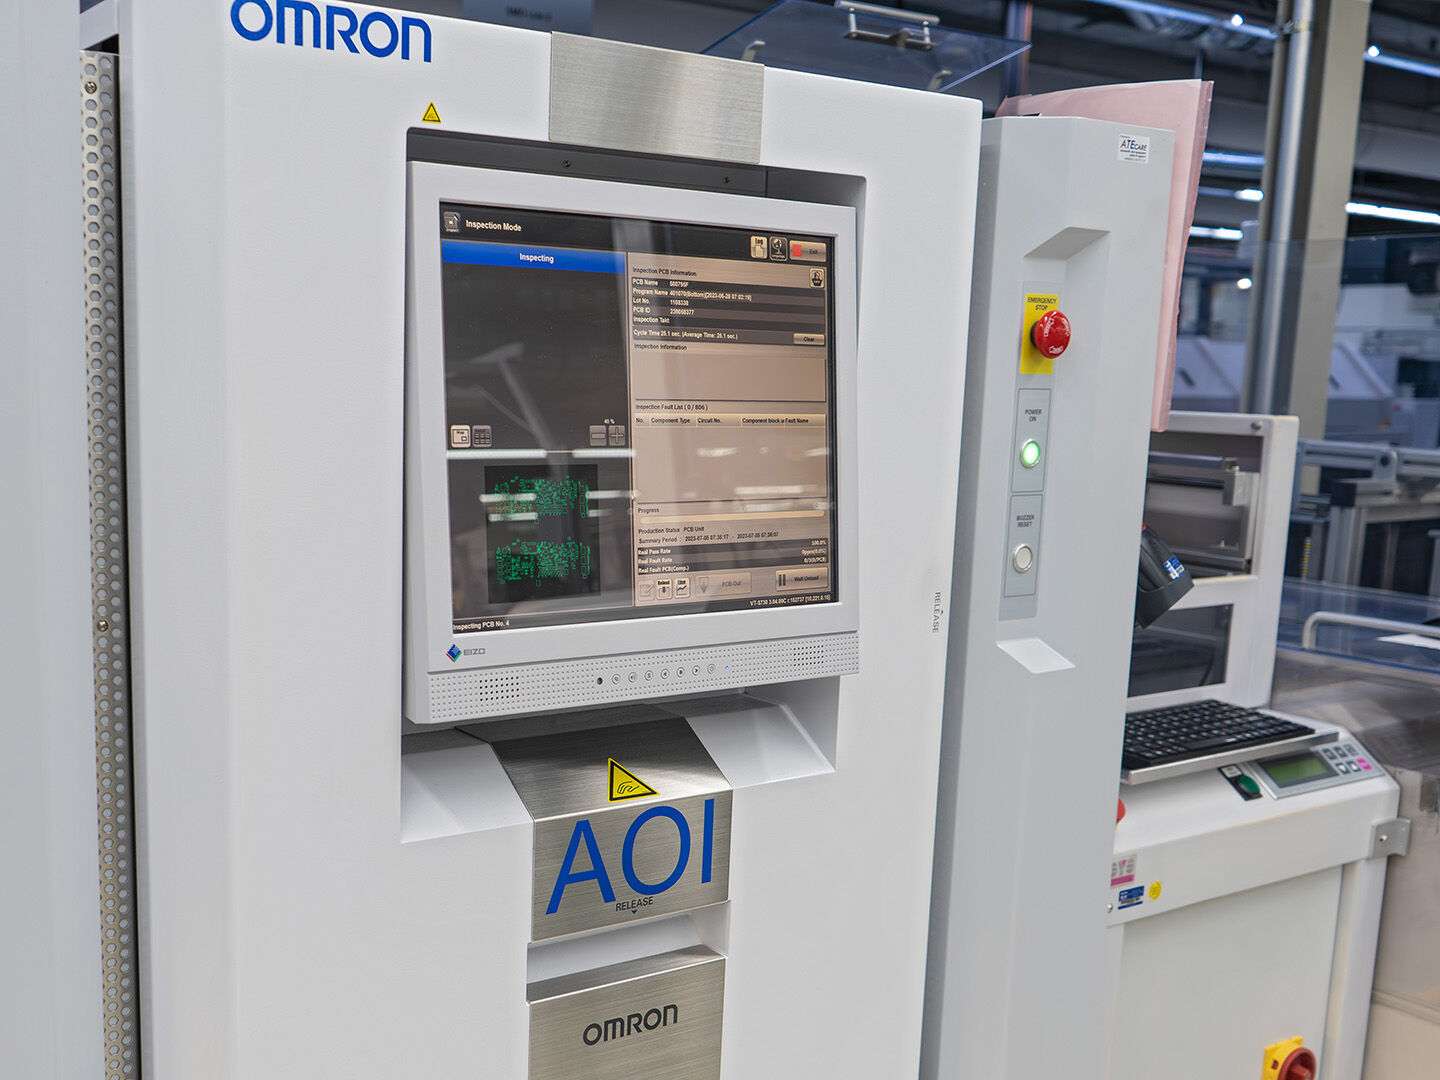
Step 3: AOI

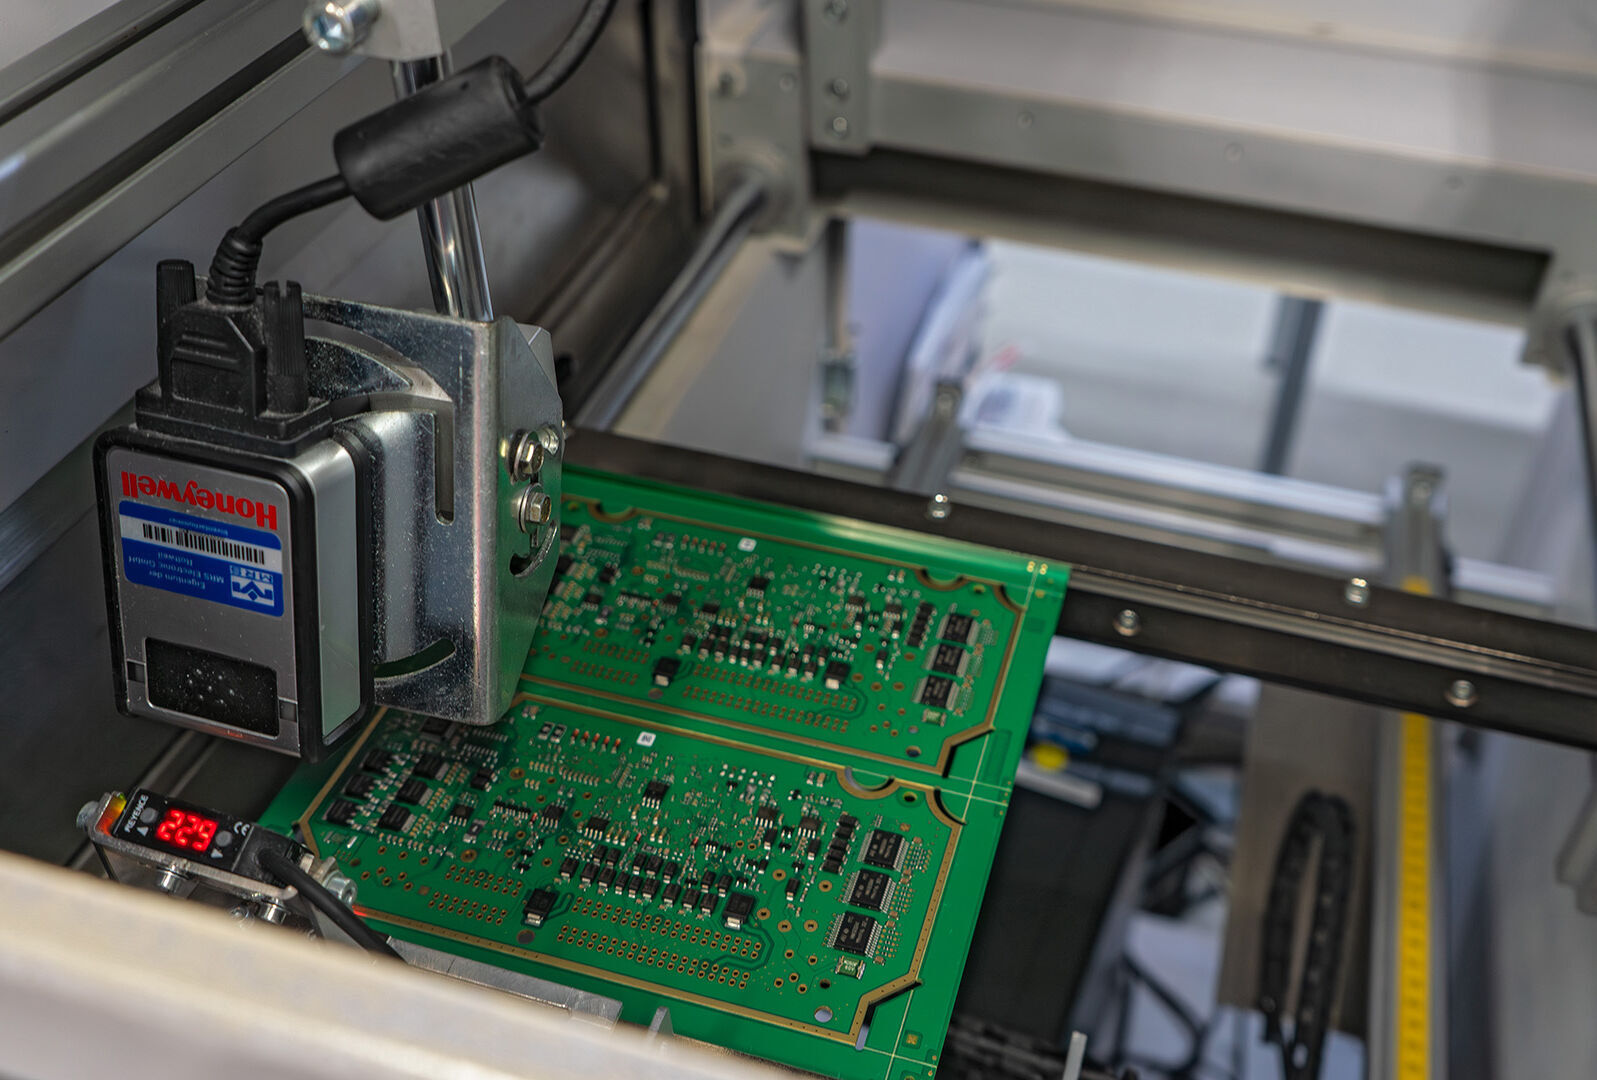
The components and soldering results are checked after the SMD process using Automatic Optical Inspection (AOI).


Depaneling

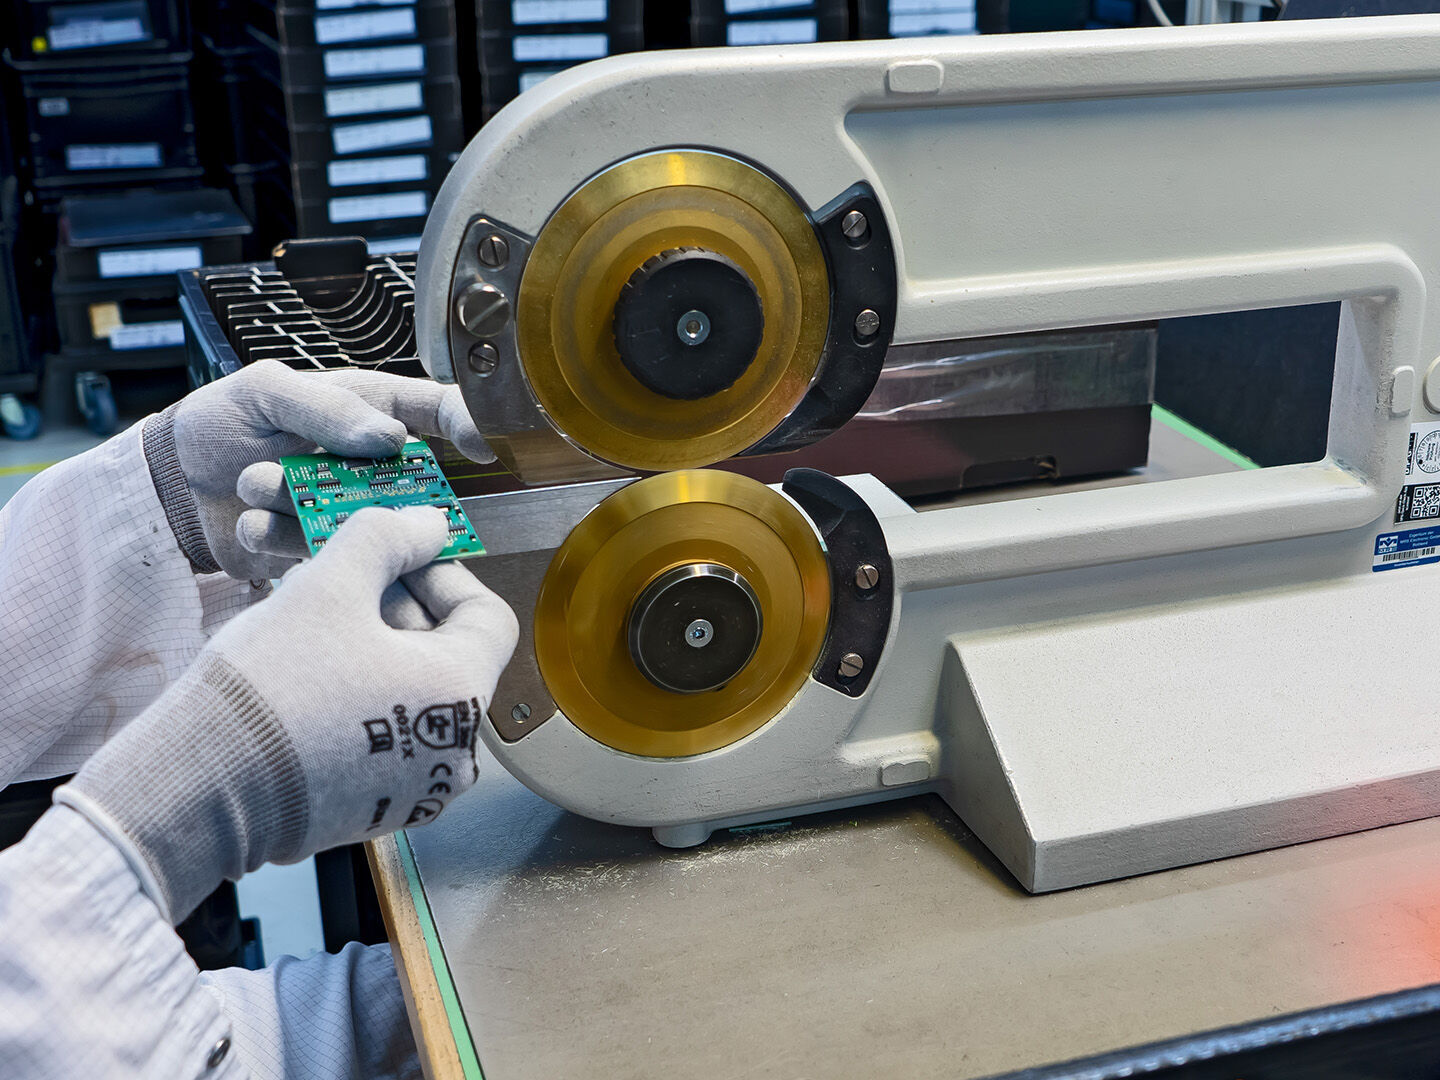
Step 4: Depaneling

To separate the PCBs of a panel from each other, we cut or mill them out using a roller cutter or a CNC milling machine, for example.


Manual assembly

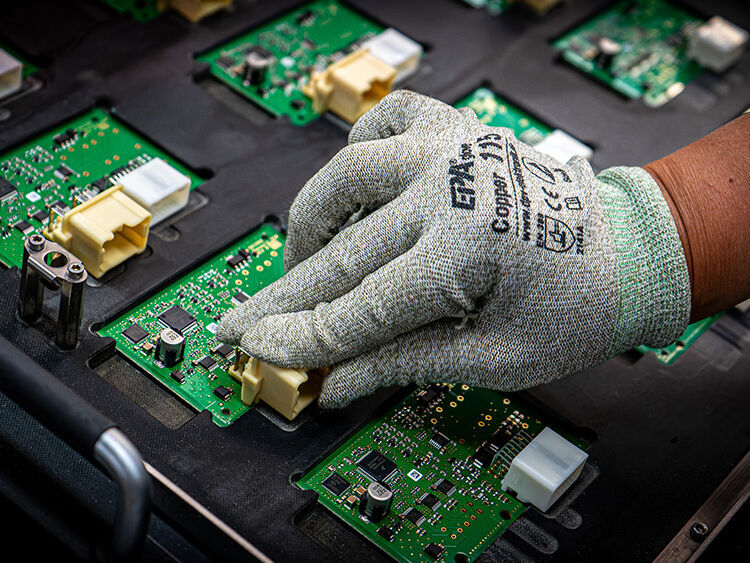
Step 5: Manual assembly

Connectors, relays, displays etc. that could not be added in the SMD must now be attached manually to the individual circuit boards.

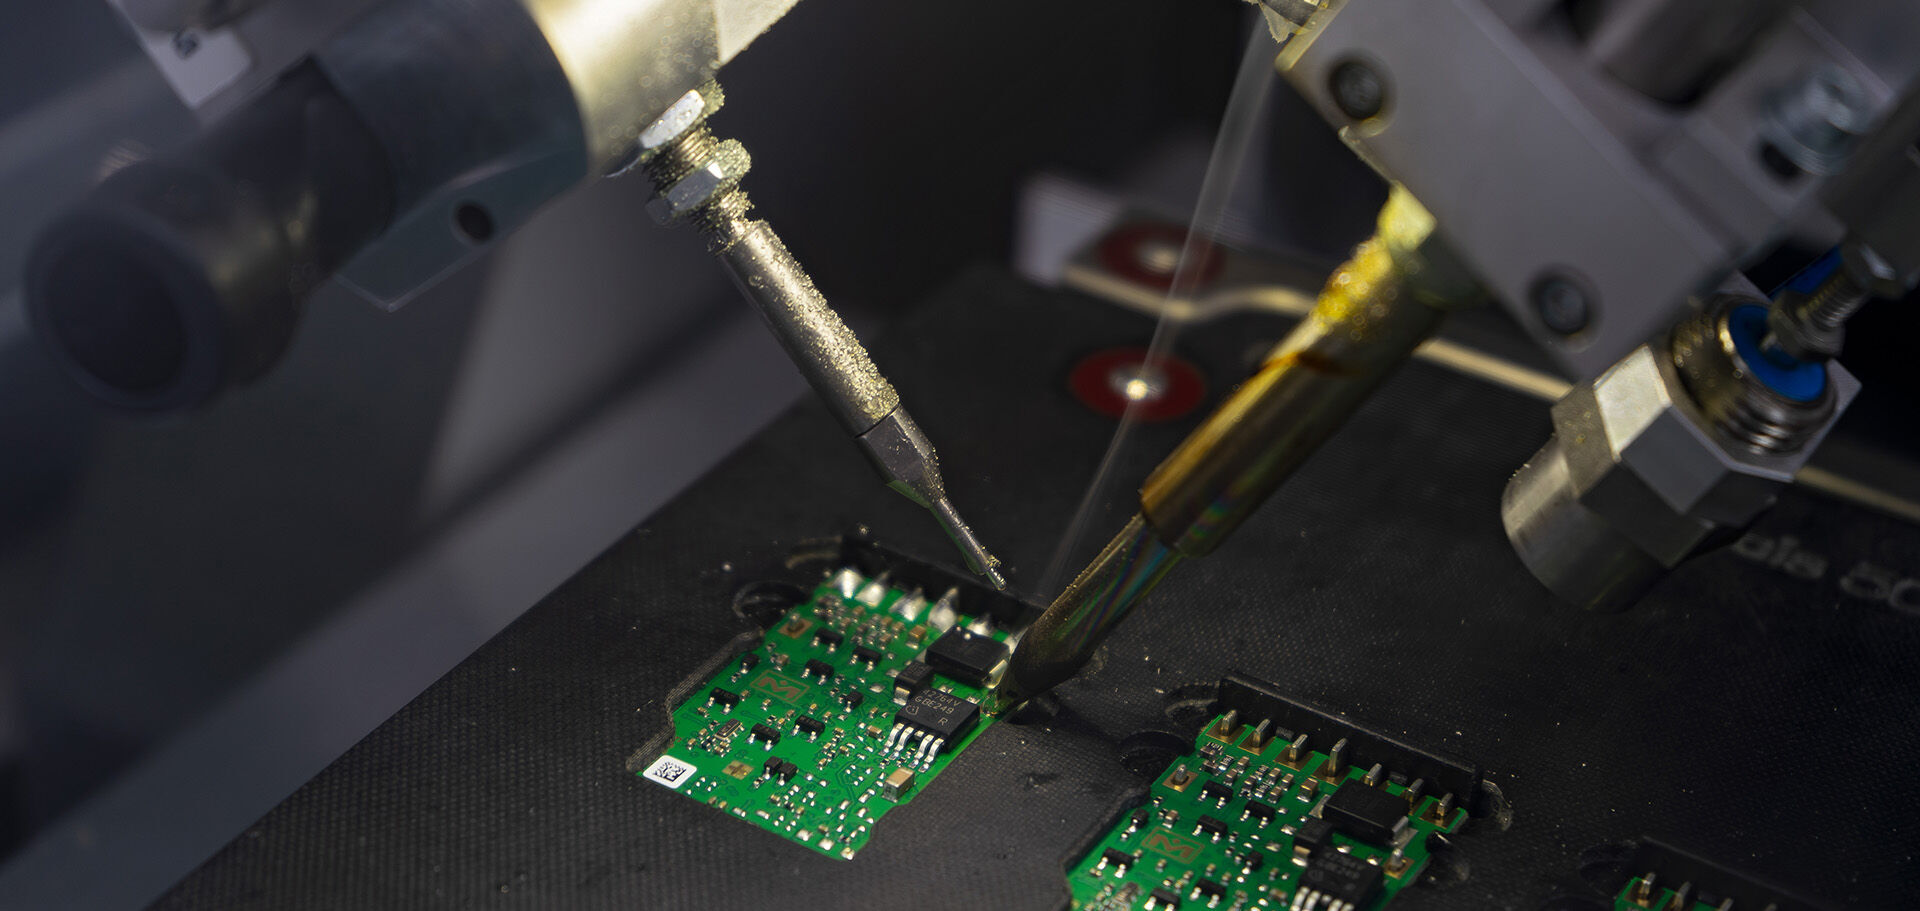
Step 6: Soldering

The manually attached connectors are attached to the PCB using wave soldering, selective soldering or the soldering robot. We select the appropriate soldering process depending on how densely the PCBs are assembled and how precise the work needs to be.


Potting / Painting

Step 7: Potting/Painting

Depending on how strongly the module needs to be protected against external environmental influences, it is either completely potted or painted. The potting compound or paint later provides protection against moisture, corrosion and dust and also improves the mechanical protection, thermal resilience and electrical insulation.
ICT/EOL

Step 8: ICT/EOL

Before and after potting or painting, we carry out an electrical function test of the assemblies - both the PCB and the finished product are tested. If all requirements are met, the product can be parameterized and the program flashed onto the module.

Printing

Step 9: Printing

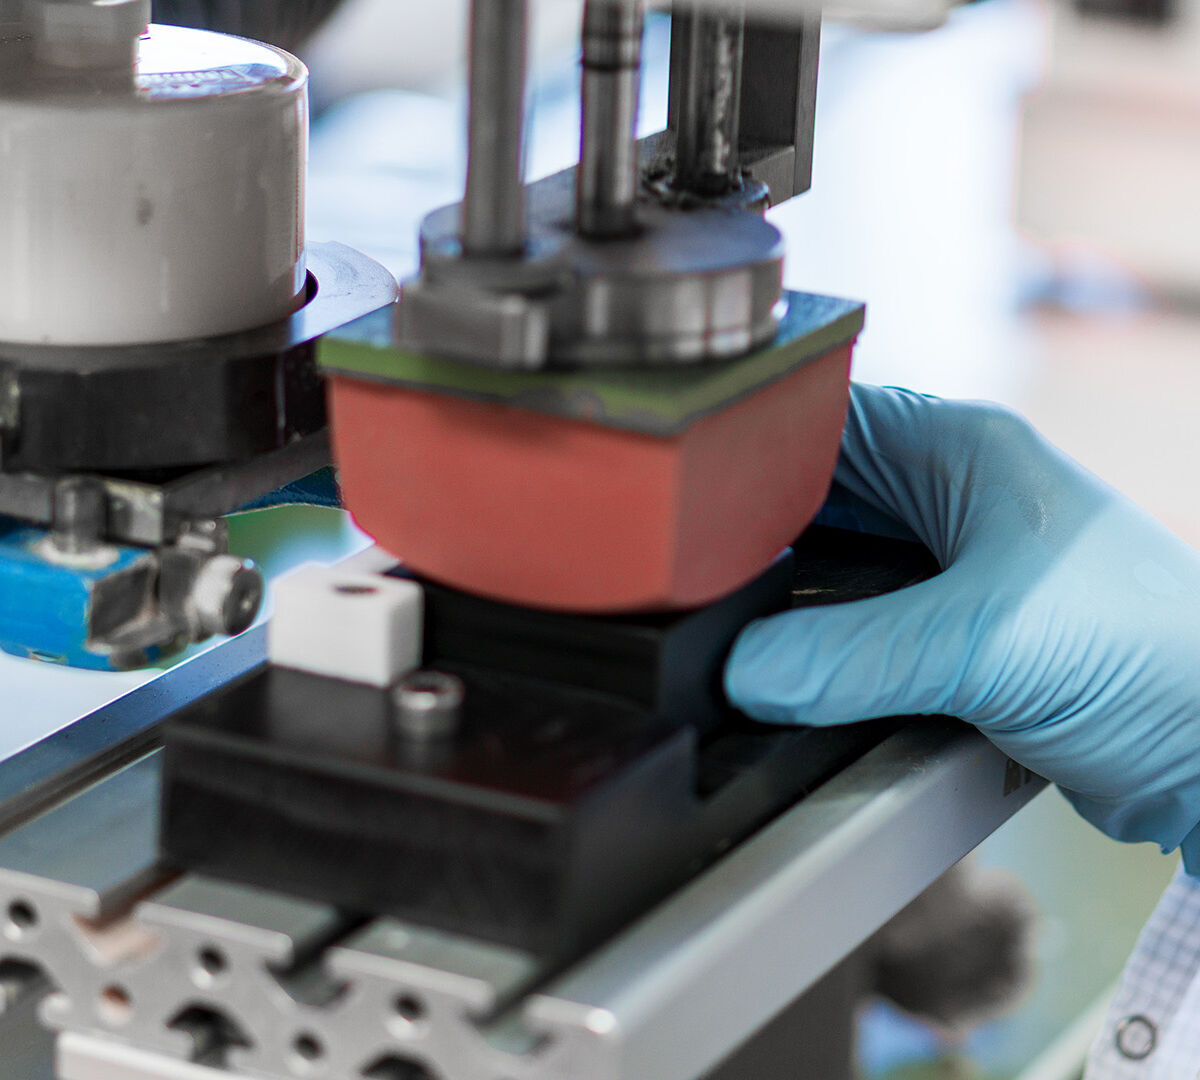
The finished product is printed using the pad printing process or, in rare cases, also covered with a sticker. You can choose between customized printing or the MRS standard print.

Storage/shipping

Step 10: Storage/Shipping

We then send the finished modules directly to our customers or store them in our warehouse.

Contact

Would you like to find out more about our production process?

Then please feel free to contact us.

Contact form Clear

Contact form Clear